
Home Repair Basics
HomeForge Workshop Guide
Home Repair
Basics
Good repair work starts with a clear plan, the right tool and careful preparation. Use these practical fundamentals to approach everyday measuring, fastening, drilling, fitting and maintenance tasks with more control and less guesswork.
Understand the task
Identify the material, damaged area, hardware and expected result before starting.
Confirm dimensions
Use a tape measure, level or suitable marking tool before drilling, fitting or fastening.
Use controlled force
Let the tool perform the work and avoid unnecessary pressure that can damage hardware or material.
Inspect the result
Confirm alignment, stability and finish before putting the repaired area back into normal use.
Workshop Practice
Build reliable habits before tackling bigger repairs.
Basic repair skills become more useful when they are repeatable. Organize tools, check measurements, select the correct accessory and keep the work area controlled from setup through final inspection.
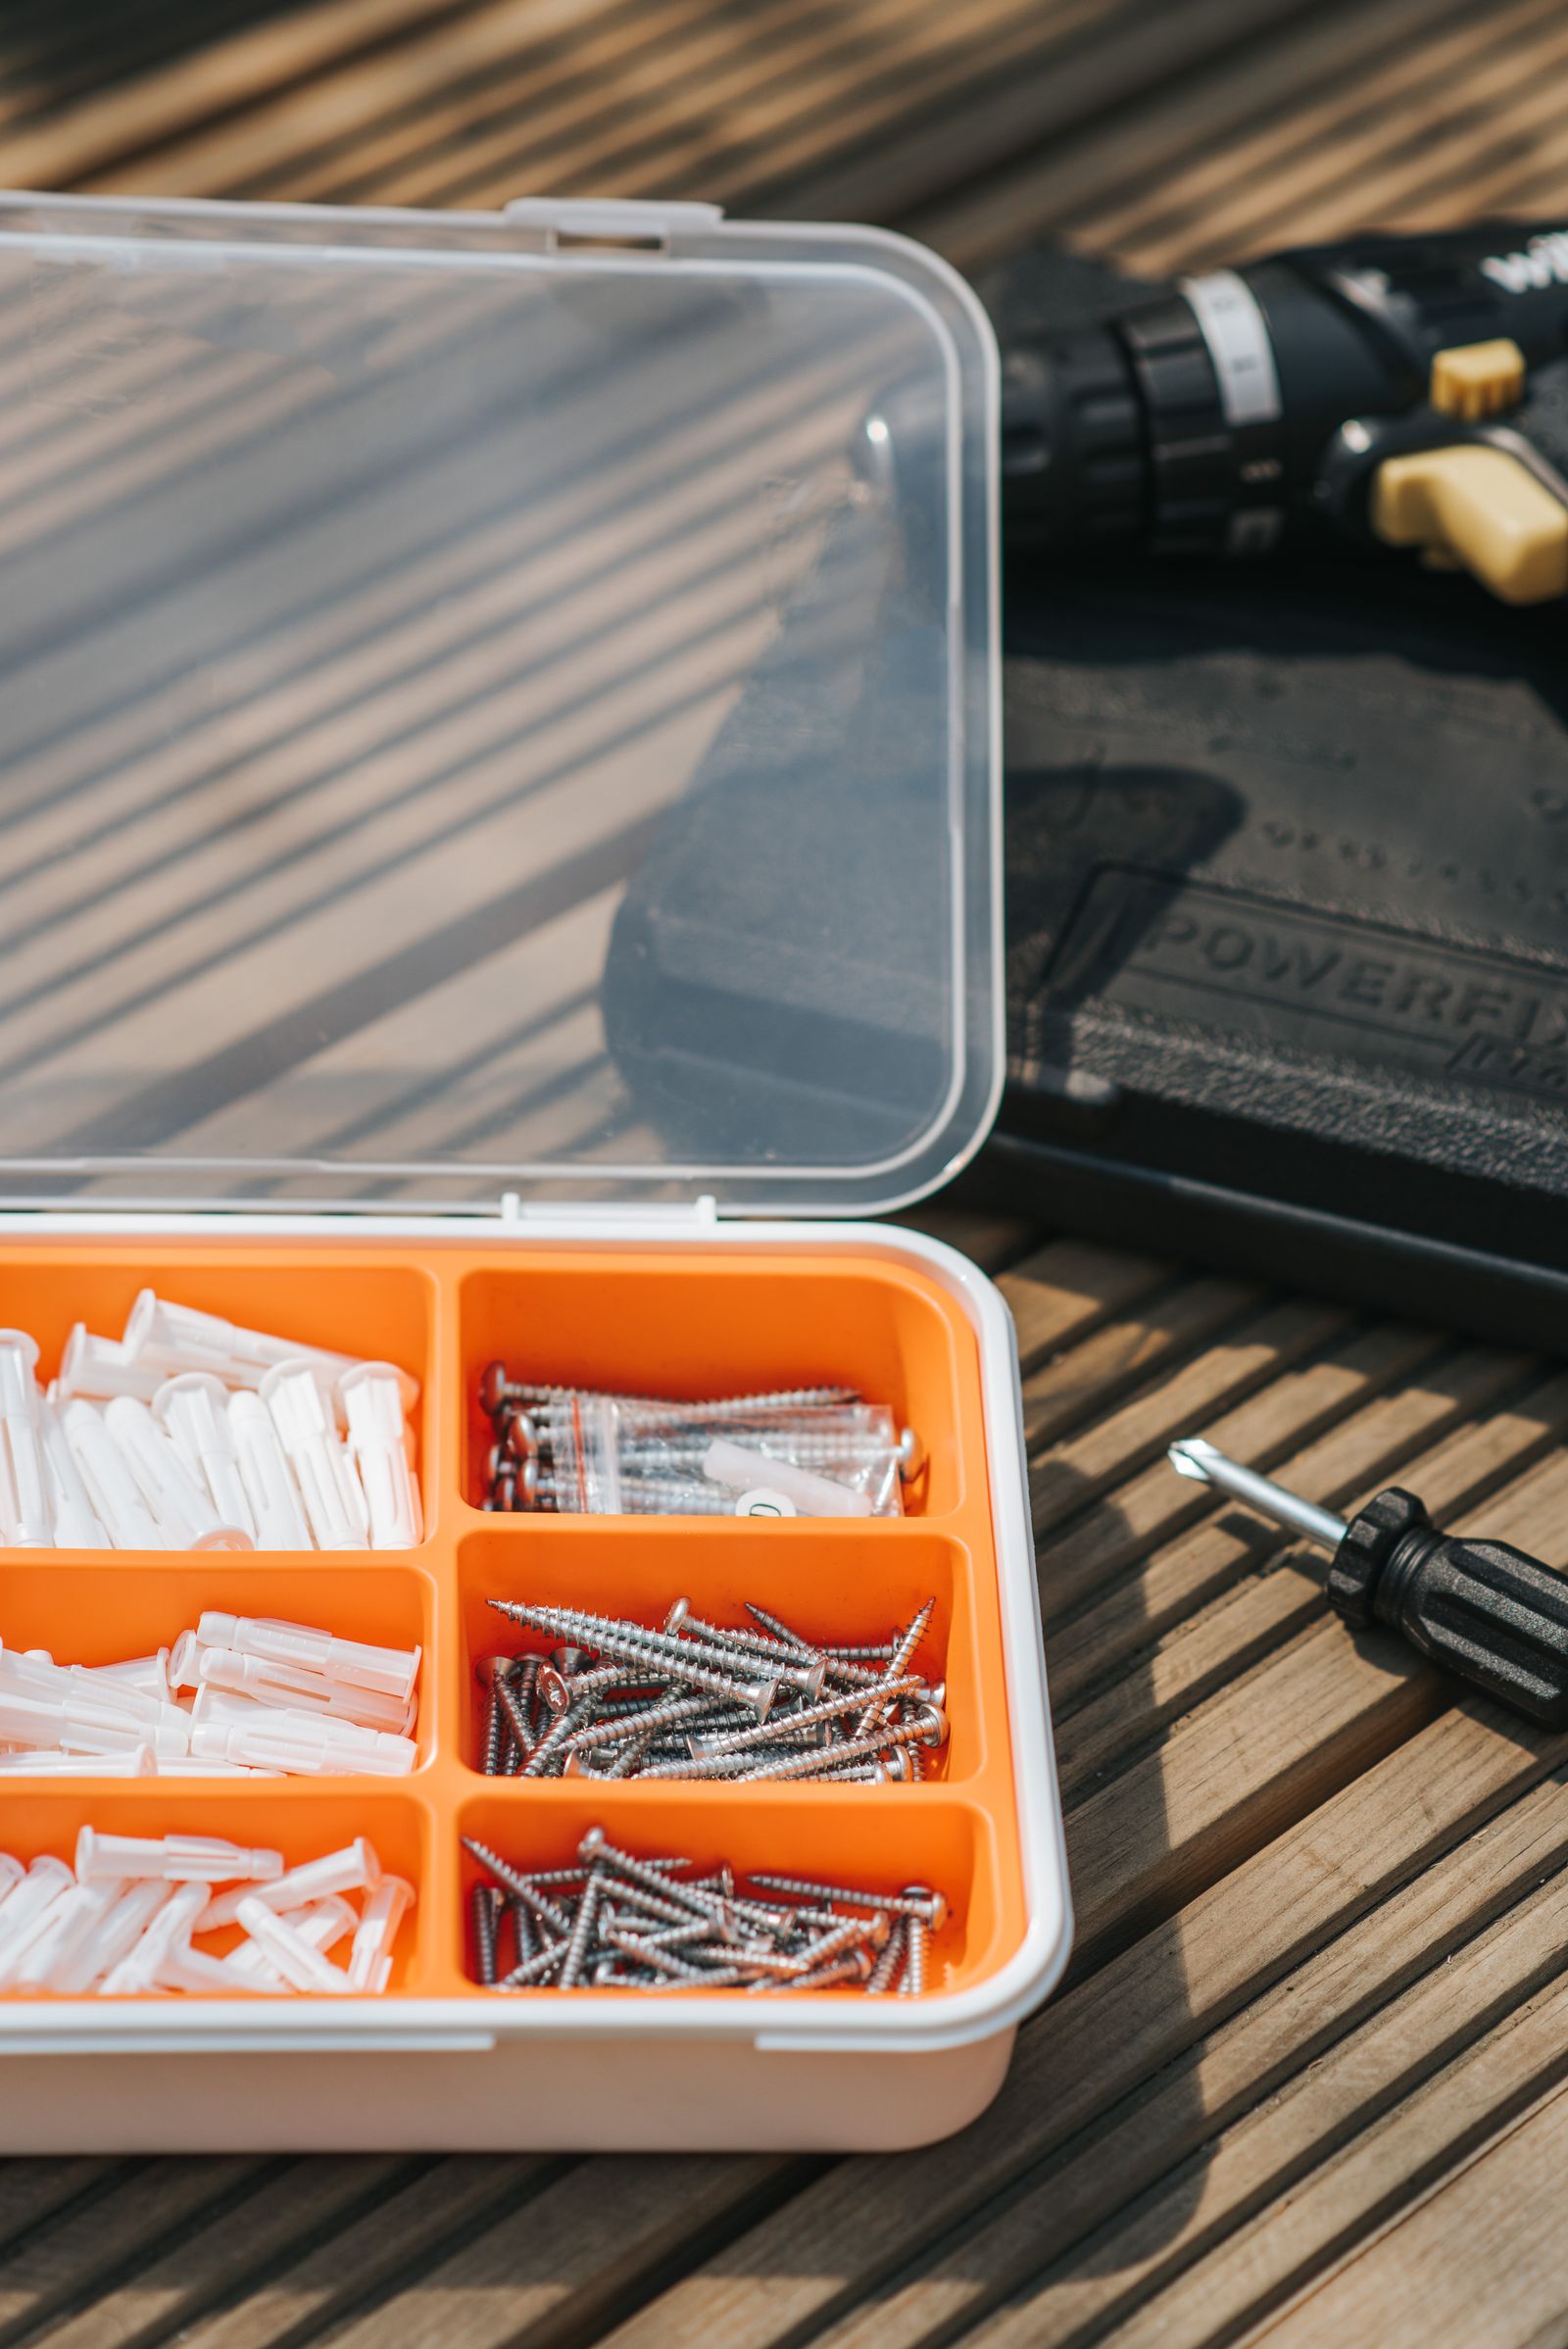
Set up before starting
Place the tools, fasteners and accessories you expect to use within reach before beginning the repair.
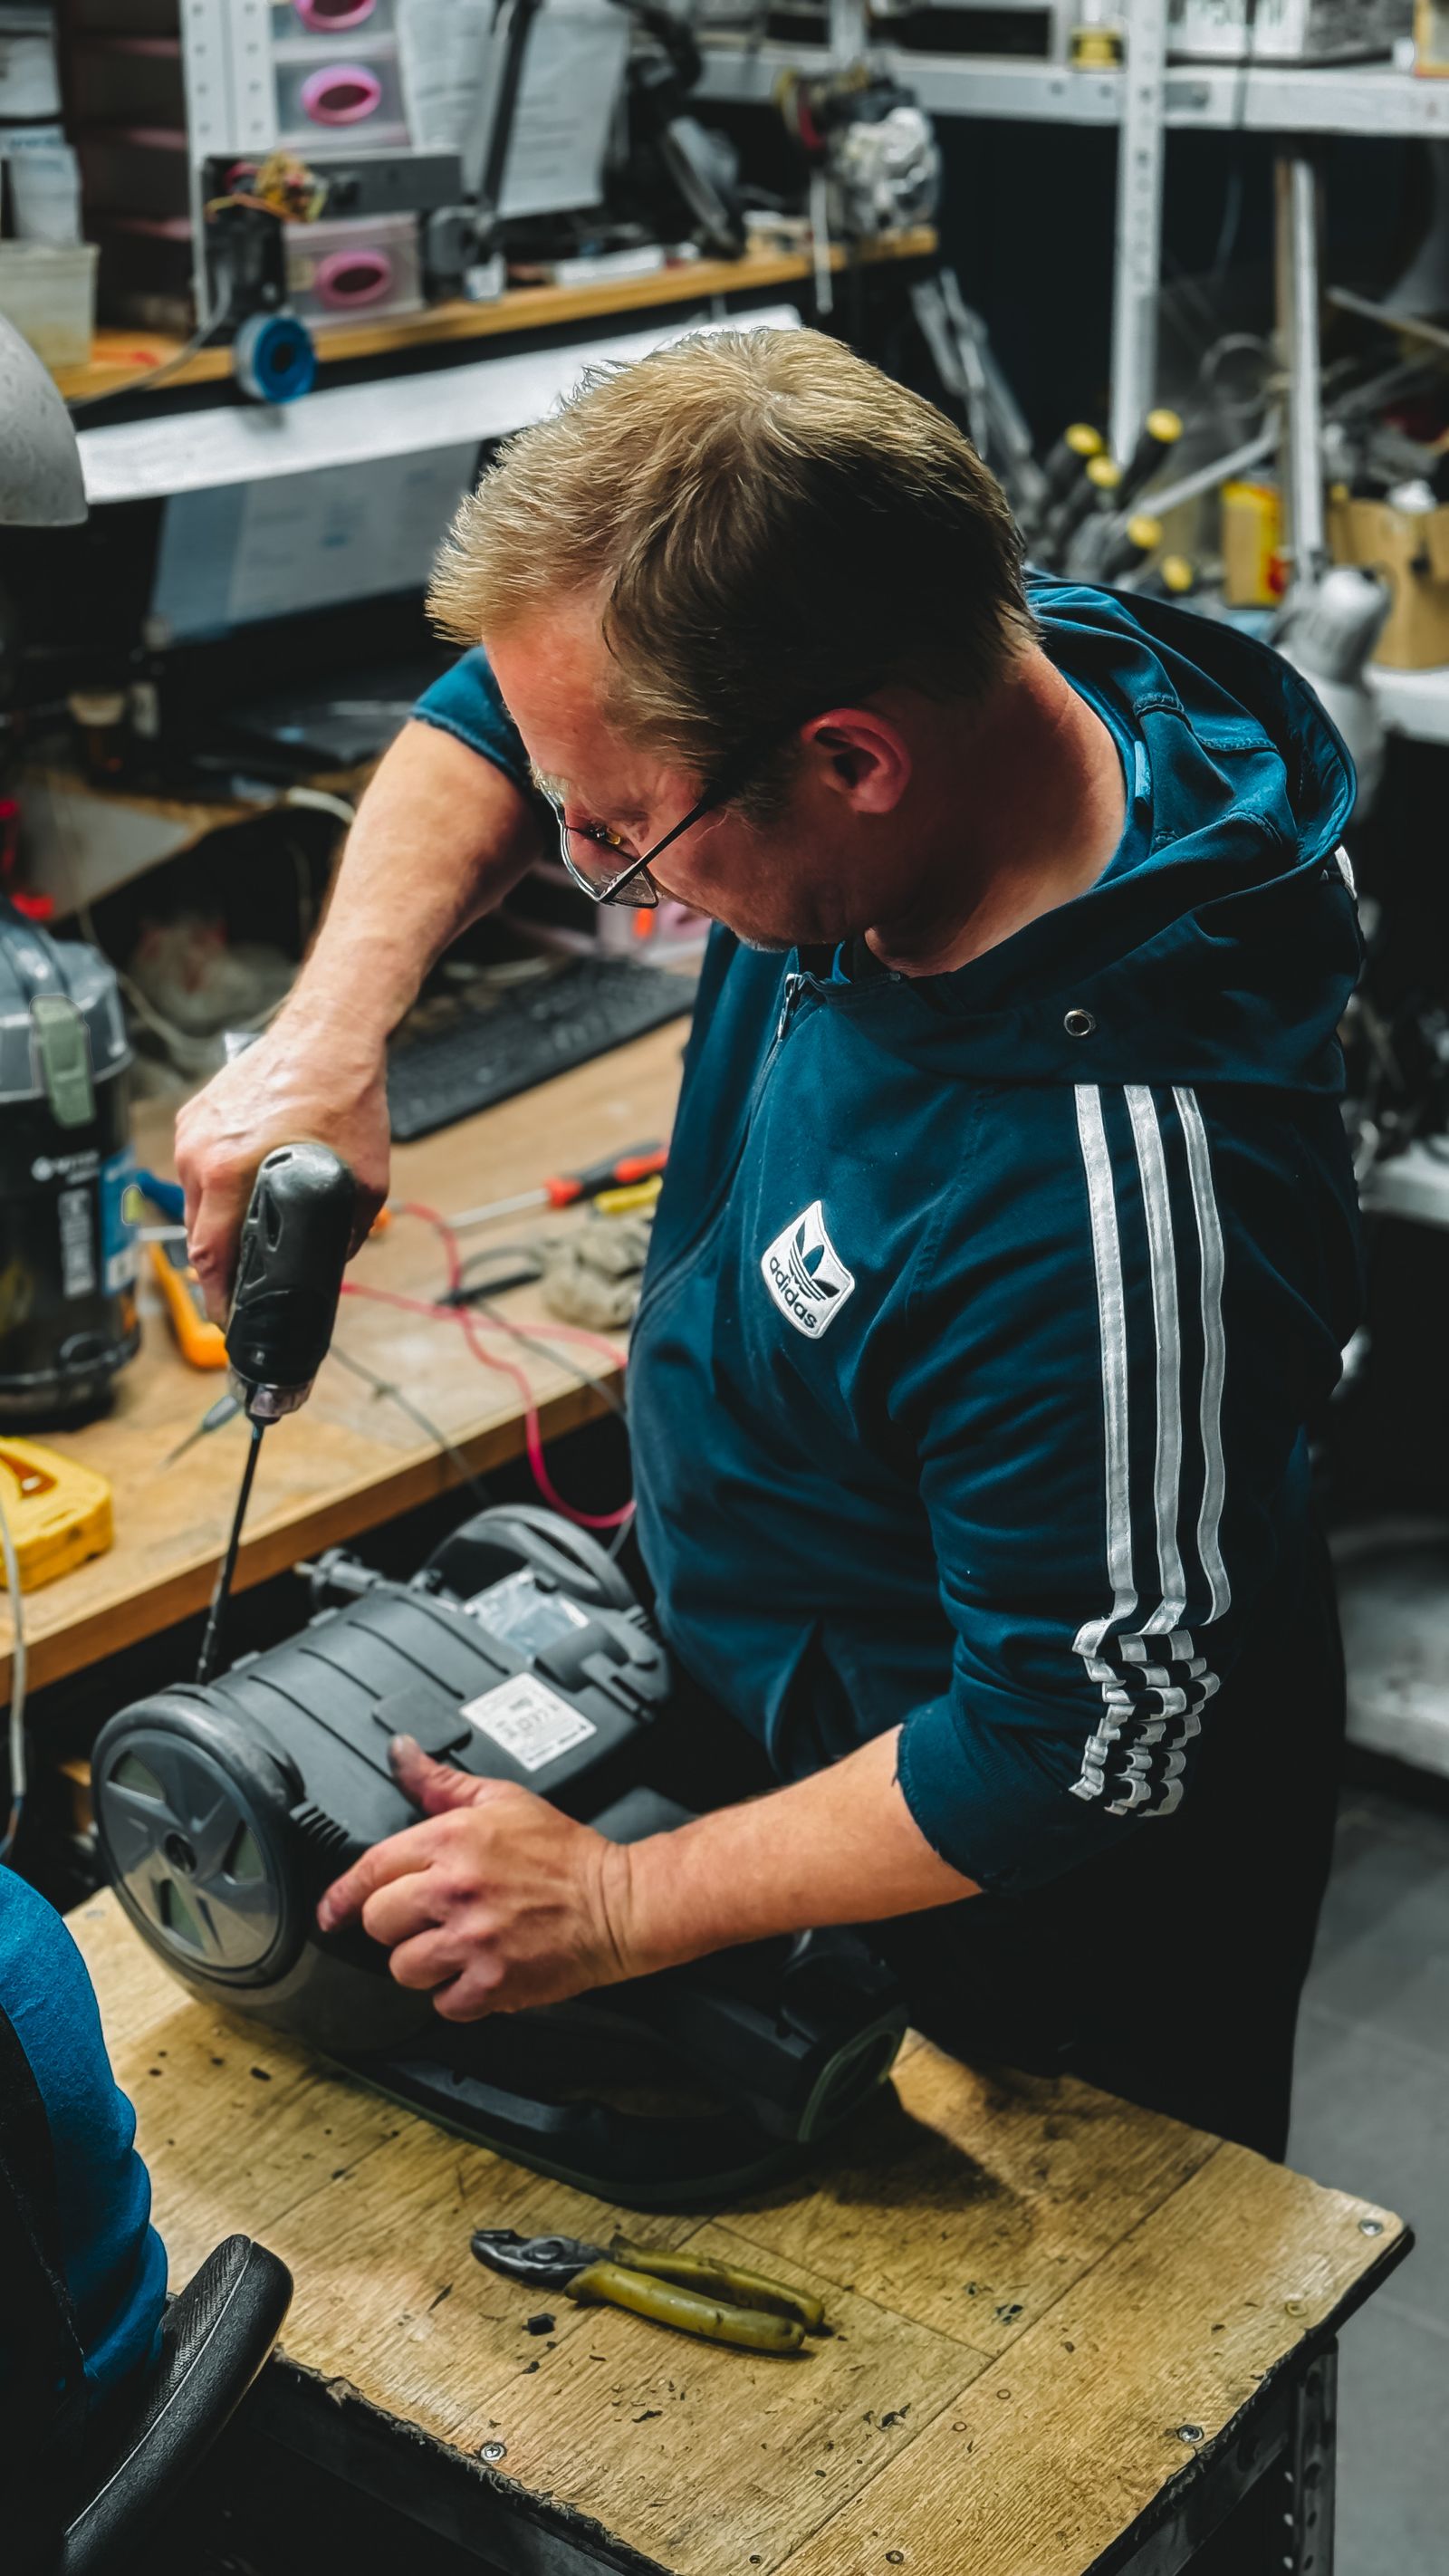
Control the tool
Keep a stable working position and guide drills and drivers squarely into the work whenever the task allows.
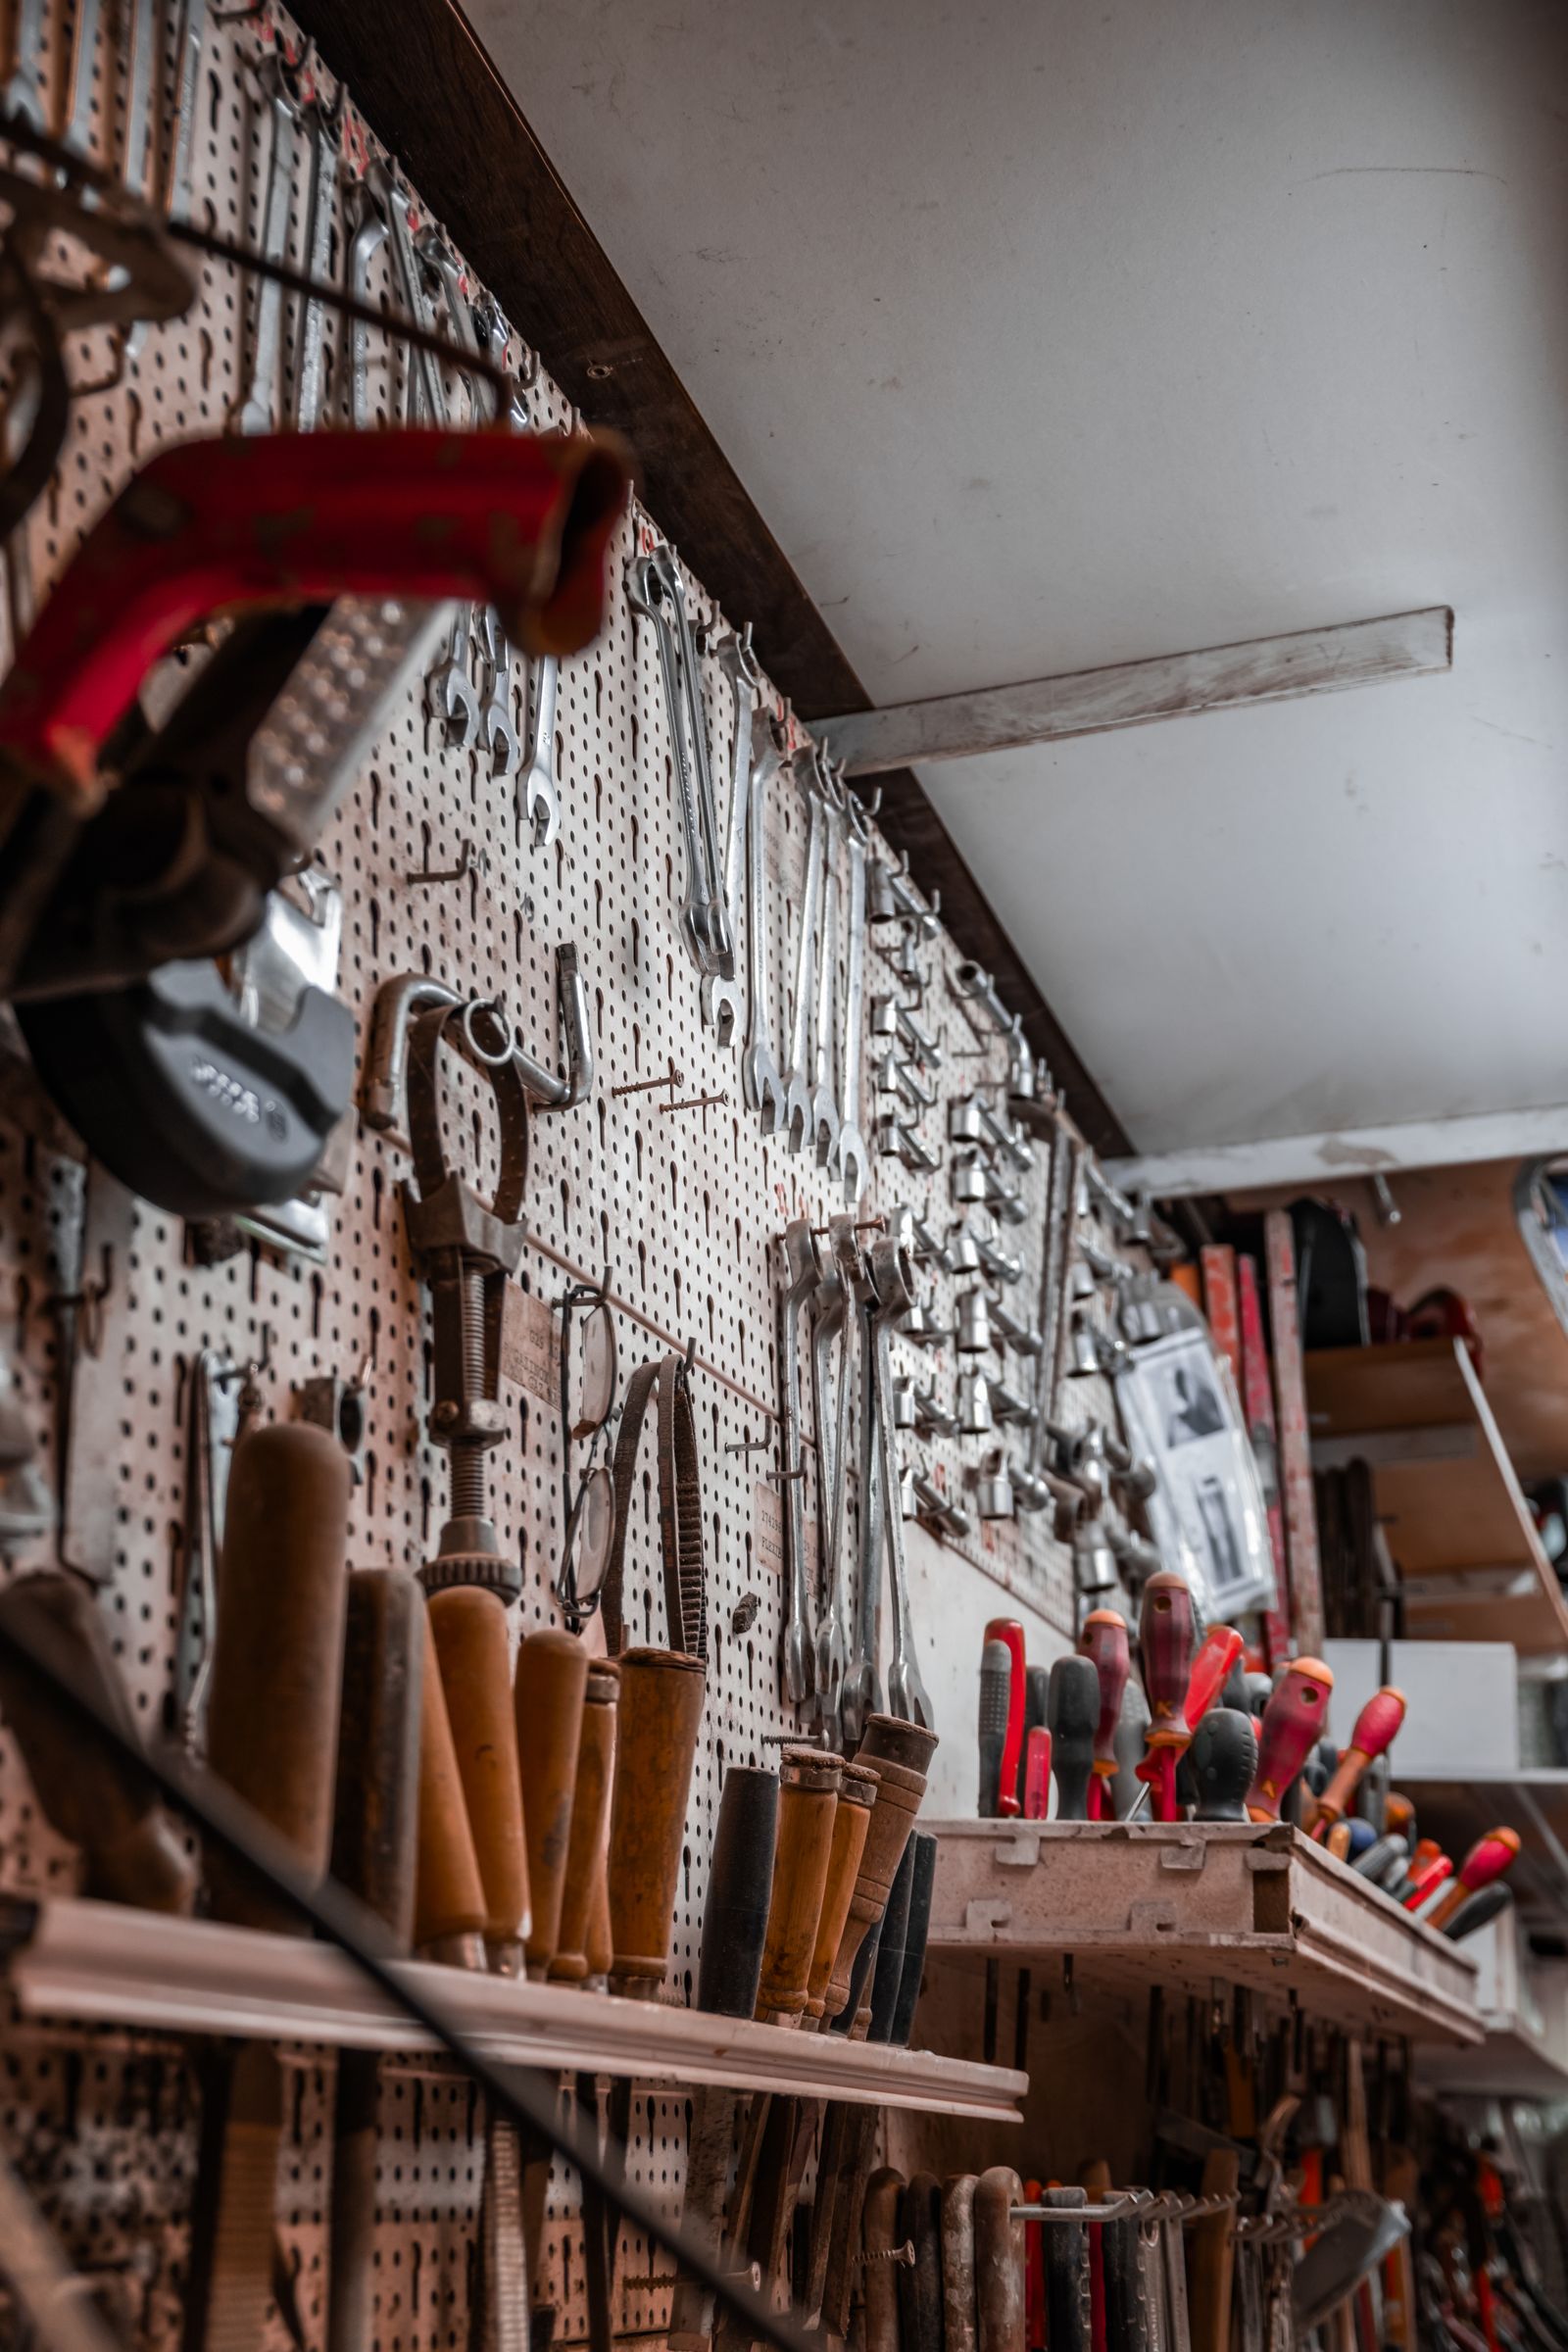
Use the correct tool
Matching the tool to the screw, fastener and material helps reduce slipping, damaged heads and unnecessary rework.
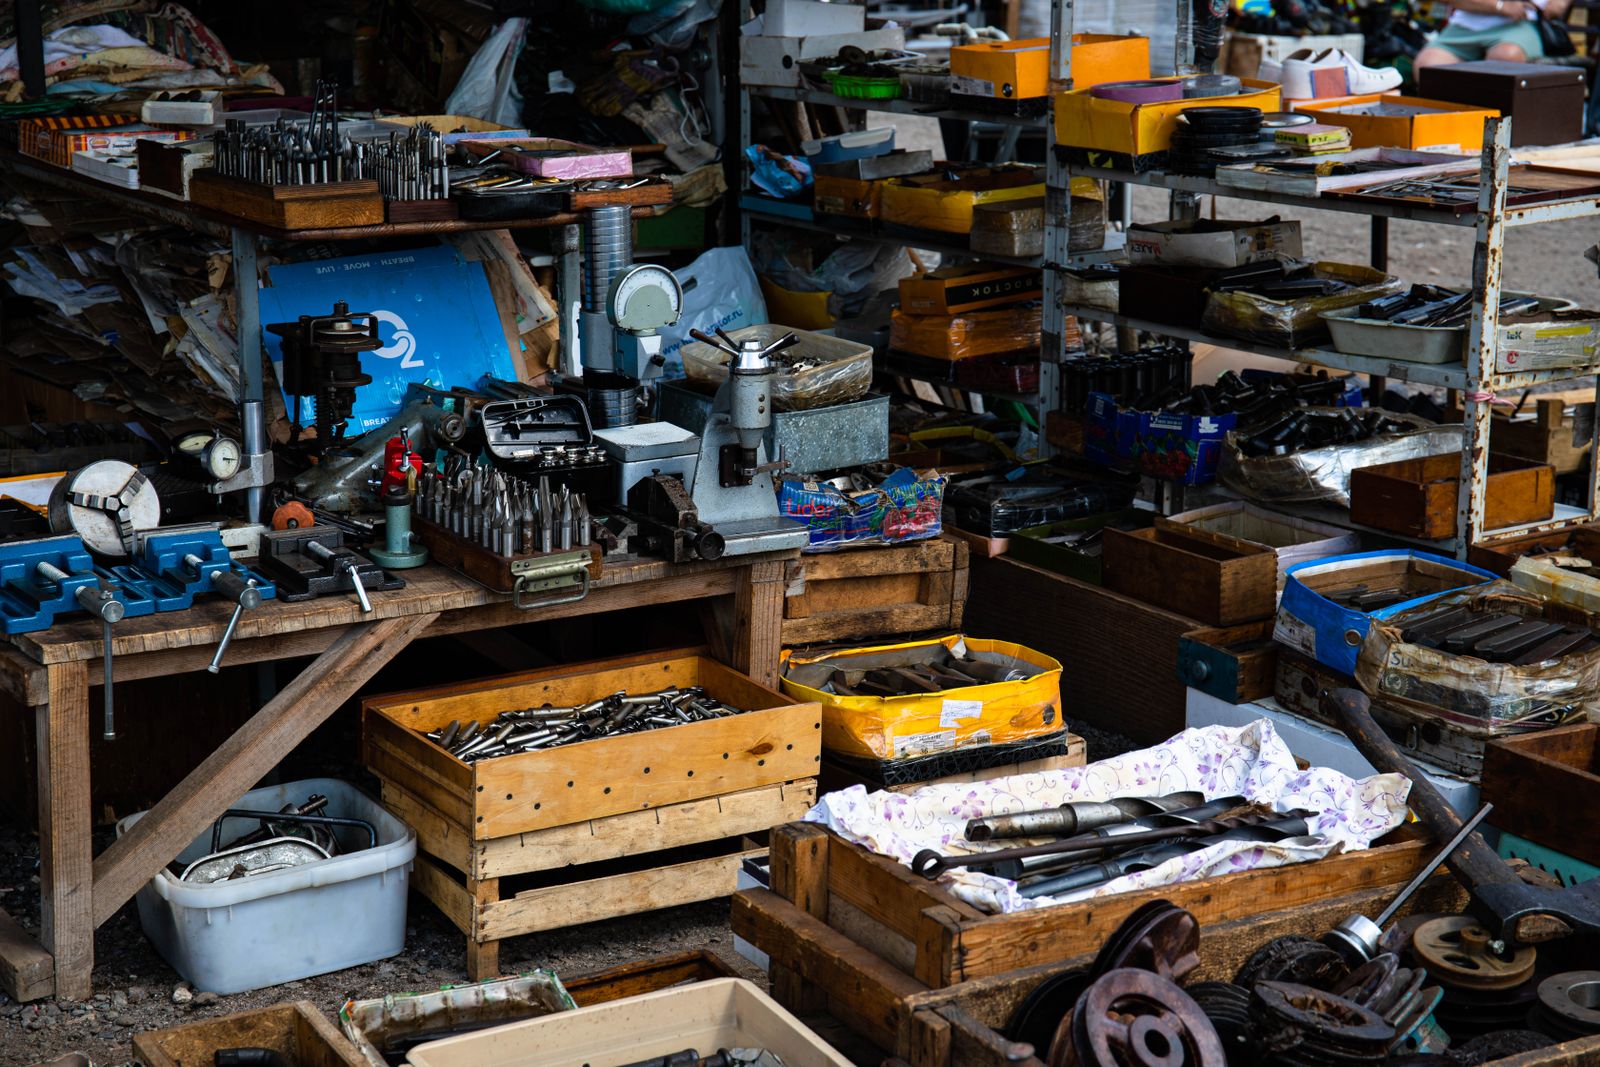
Finish with inspection
Check that hardware is secure, surfaces are aligned and tools are cleared from the work area before considering the job complete.
Four-Step Method
A simple workflow for everyday repair tasks.
The details change from project to project, but a consistent workflow can make small repairs easier to manage and help prevent avoidable mistakes.
Inspect
Look closely at the damaged, loose or worn area. Check surrounding material, existing hardware and anything that could affect the repair.
Prepare
Gather the appropriate hand tools, drill accessories, fasteners and measuring tools before you begin.
Repair
Work in controlled steps. Check alignment and fit as you go instead of waiting until the end to discover a problem.
Verify
Confirm the repaired area is secure and functioning as intended before cleaning the workspace and storing the tools.
Core Repair Skills
Start with the fundamentals you will use again and again.
Measuring, fastening, drilling, cutting, alignment and basic tool care form the foundation of many practical maintenance and installation jobs around the home.
Measure and mark carefully
Confirm dimensions before drilling holes, trimming material or positioning hardware. A small measuring error can become a large installation problem.
Match the fastener to the job
Screws, bolts, anchors, nuts and washers serve different purposes. Choose hardware that suits the material and the way the repaired part will be loaded.
Choose the right bit
Drill bits are designed for different materials and hole types. Confirm the material and bit size before starting.
Keep pressure centered
A screwdriver or driver bit works best when it is properly seated in the fastener and kept in line with the screw.
Plan the cut before making it
Confirm the line, material and cutting tool before removing material. Keep the workpiece stable and the work area clear.
Inspect tools after use
Clean working surfaces, remove debris and check bits, blades and hand tools before returning them to storage.
Before You Start
Make the workspace part of the repair.
A stable, uncluttered working area makes measuring, drilling and fastening easier to control. Preparation also reduces the chance of losing small parts or reaching for the wrong tool during the job.
Clear loose objects and unnecessary tools from the immediate work area.
Check that the material or component is stable before applying force.
Confirm measurements, fastener size and accessory fit before beginning.
Keep removed screws, washers and small hardware together during disassembly.
Start gently
Begin fastening, drilling and adjustment work with controlled pressure. More force is not automatically better.
Check alignment
Hinges, brackets, handles and other hardware should be checked for alignment before final tightening.
Protect surfaces
Keep sharp edges, metal tools and loose hardware from unnecessarily marking nearby finished surfaces.
Keep parts organized
When removing existing hardware, group related screws, washers and fittings so reassembly remains clear.
Know when to stop
If the repair involves conditions you cannot safely identify or control, stop work and seek appropriate qualified assistance.
Work Safely
A basic repair should stay within safe limits.
Everyday home maintenance can involve sharp tools, powered equipment, concealed services and unstable materials. Follow the instructions supplied with the tool you are using, keep the work area controlled and do not continue when the condition of the area is uncertain.
Frequently Asked Questions
Common questions when starting home repairs.
These fundamentals are intended for general everyday maintenance and repair planning. The exact tools and techniques depend on the material and task.
What tools are useful for a basic home repair kit?
A practical starting set often includes screwdrivers and bits, a hammer, pliers, a tape measure, a level, suitable wrenches or sockets and commonly needed fastening tools. Add drilling or cutting tools when your projects require them.
Why should I measure before drilling or installing hardware?
Measuring and marking first helps you confirm spacing, alignment and placement before making a hole or permanently fastening a component.
How do I avoid damaging screw heads?
Use a screwdriver or bit that correctly matches the screw head, keep the tool aligned with the fastener and avoid unnecessary speed or excessive force.
When should I use a wall anchor?
Anchor selection depends on the wall material, fastener and load. Confirm the material and use hardware intended for that application rather than assuming one anchor type suits every wall.
What should I check after completing a repair?
Check alignment, hardware seating, stability and surrounding surfaces. Remove loose debris and tools, then confirm the repaired part operates as intended.
When should I stop a DIY repair?
Stop when you cannot confidently identify the material, service, load, repair method or safe working condition. Specialist electrical, gas, structural and other complex work may require qualified assistance.
Build Your Workshop
Start with dependable tools for practical repair work.
Explore HomeForge tools and hardware for measuring, fastening, drilling, cutting, installation and everyday home maintenance.